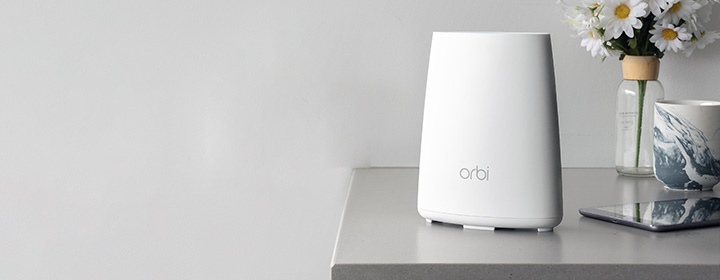
Orbi mesh system with AC2200 speed features so many functions along with the guest network, parental control and much more. Here, we will walk you through simple Netgear Orbi AC2200 setup instructions. We will also provide specifications and LEDs of the router and satellite.
Orbi AC2200 Router Setup
You will get a RBR20 model Orbi mesh router which you can connect with the modem directly with the help of an Ethernet cable. Look how to cable your Orbi router:
- Place the Orbi router near home modem.
- Use the Ethernet cable and connect it to the LAN port of the mode.
- Connect the other end of the cable to the WAN port of the Orbi router.
- Turn the devices on and configure the Orbi.
Orbi AC2200 Satellite Setup
The AC2200 Orbi mesh content package contains RBS20 model Orbi satellite that you can connect with the Orbi router via Sync button. Learn how to sync Orbi Satellite:
- Choose any optimal location in your house within reach of the router.
- Find the Sync button on the satellite and router.
- Press it once on both of the devices and wait for the connection to establish.
Once the connection is established, you should configure it through any of the below given Orbi AC2200 setup methods.
Orbi AC2200 Setup: Configuration/Login
Method1: Orbi App
For this configuration method, you have to download the Nertgear Orbi app from the Play Store or App Store. After that apply these troubleshooting tips:
- Open the app in your phone and create the Netgear account.
- Or you can access the app through the admin credentials given at the back label of the router. But you will log in as a guest.
- In the app, click Set Up New Device. App will instruct you to connect the router with the phone.
- After the connection, you have to create the WiFi name and password for the new Orbi network.
- Click SAVE, and wait until the Orbi network restarts to apply all settings.
Then you will see a new WiFi network SSID name on your phone WiFi list and can connect using the new WiFi password key.
Methods2: Orbilogin.net
You have to configure the computer with the help of the interface, you have to connect a PC or laptop with the help of the Ethernet cable or wirelessly.
To Connect via Ethernet Cable: Plug the Ethernet cable into the router’s LAN port and computer’s Ethernet port.
To Connect Without Using Any Cable: turn on Wi-Fi on your computer and choose the Orbi network from the WiFi list.
Now, follow a few instructions to log into the interface and complete the Orbi AC2200 setup.
- Go into the web browser of the computer.
- Enter Login URL orbilogin.net or IP 192.168.1.1.
- Search it and reach to the login page.
- Enter the admin username and password (default).
- An interface page will open, here you must create the Netgear Account first.
- On the next page, enter the new WiFi name and password. Then, SAVE to apply the credentials.
- Let the router restarts and then you can connect with the new Orbi network via new SSID credentials.
Below, you will get to know about specification and LED preview one by one:
Specifications and LEDs Info
Specifications:
Router: The AC2200 router has one WAN port, one LAN port, one power connector, Sync button, reset button, power button on its hardware.
Satellite: The Orbi AC2200 satellite has two Ethernet ports, Sync button, power connector, power button, reset button on the back.
LEDs:
The router and satellite have only one LED on the top called ring light. It shows so many colors like Amber, magenta, white and blue to showcase the status of the Orbi devices.
The Conclusion
In this blog post, we have given information about the Netgear Orbi AC2200 Tri-band wifi setup with the help of different setup methods. At the end, we have added specifications and LEDs information of Orbi mesh router.
Frequently Asked Questions
Go into the Orbi app/interface, find and open the Wireless Settings. Select any channel of the network and change the WiFi password. Then, SAVE the change to apply.
Access the Orbi web-based interface on computer and go into the Firmware tab under the Settings. In the Firmware tab, choose Check For Update and then click UPDATE if new version is available.
Find the RESET button on the device. Use any pin or pen to press and hold it. Then by releasing the button, the reset process starts, after that you should reconfigure the device.
