Orbi satellites tend to connect to the Orbi or non-Orbi router wirelessly and then send the router’s signals to the entire house. But, that does not mean that you cannot create an Ethernet Backhaul between your router and satellites. When connecting the Orbi devices through a cable is easy, creating a wireless Backhaul between them can become a cumbersome task sometimes. This blog will walk you through the setup process of an Orbi satellite. Go through the steps highlighted in the post and learn about setting up your Orbi Wi-Fi 6 satellite in 2024.
What’s Required for Setting Up Orbi Wi-Fi 6 Satellite?
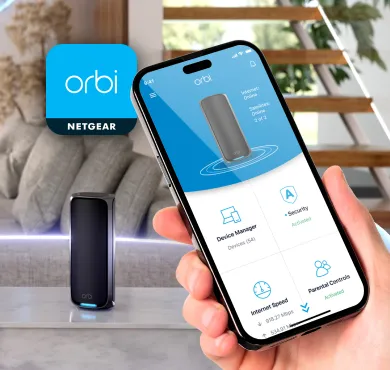
The very first requirement for the Orbi WiFi satellite setup is an up and running Orbi network. Thus ensure that you have installed an Orbi router in the house with the help of the orbilogin.net URL or the Orbi app. Also, the location of your router should be in an interference-free room. Once ensured, you can move to the next section to learn the connection and setup process.
How to Set Up Orbi Wi-Fi 6 Satellite?
- Start the process by bringing the satellite in the room same as the Orbi router.
- Switch on the router if you haven’t powered it up yet.
- Thereafter, switch on the Wi-Fi 6 satellite.
- The power light on the satellite will flash white after some time ensuring that the power supply is stable.
- Now, unlock the phone on which you have installed the Orbi app.
- Connect the phone to the Orbi router network.
- Go to the Add Satellite option.
- Follow the in-app instructions for the Orbi WiFi 6 satellite setup.
- When the Orbi satellite’s ring light changes to solid blue, it is a sign that the setup has been completed.
In this manner, you can complete the process of setting up your Orbi Wi-Fi 6 satellite. However, there are chances that the app will not automatically detect the satellite and you end up failing with the setup process. In that case, you will have to connect the satellite manually through the Sync button. Walk through the next section to find out how to connect Orbi satellite manually.
How to Connect Wi-Fi 6 Orbi Satellite Manually?
- After placing the Orbi satellite in the same room as the router, switch it on.
- Once done, locate the Sync button on your Orbi router.
- It is generally located at the back.
- Press the button for a few seconds.
- Within 2 minutes, press the Wi-Fi 6 satellite’s Sync button.
- This satellite and router will attempt to establish connection.
- When you see the Orbi satellite blue light, the setup process will be completed.
Just in case, the Orbi purple light shows up on the satellite, the connection will fail. To fix the problem, it is recommended that you reduce the distance between the satellite and router.
Note: If you are trying to set up an Orbi outdoor Wi-Fi 6 satellite, be sure that it is not very far from the router. Also, you will have to manage the satellite’s settings by mywifiext.net since it will become a WiFi range extender.
To Sum Up
The guide explaining the process of setting up Orbi Wi-Fi 6 satellite ends here. It is expected that with the help of the steps given here, you will be able to set up the mesh system easily.